With Halloween being just around the corner, it is completely thrilling to start with the decoration. And while we let our kids have fun with their pumpkin lanterns, why not have a little fun of our own? We have the best idea for a decoration that will look good in your garden and your home for the Spooky season! How to make succulent pumpkins? What is the easiest method and what materials do you need?
What Are Succulent Pumpkins?
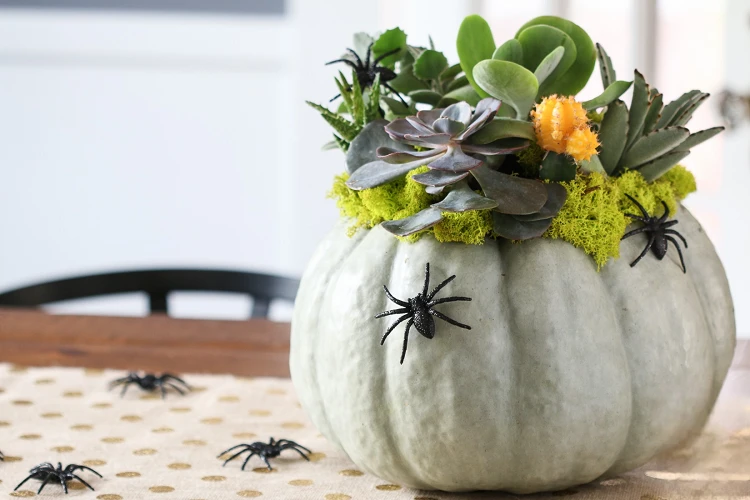
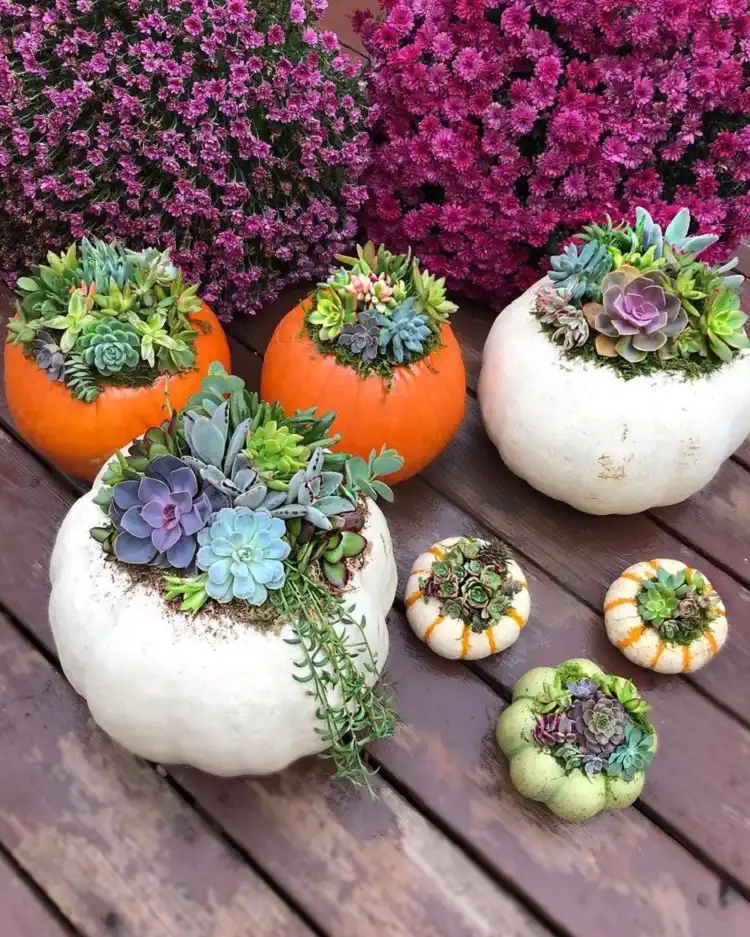
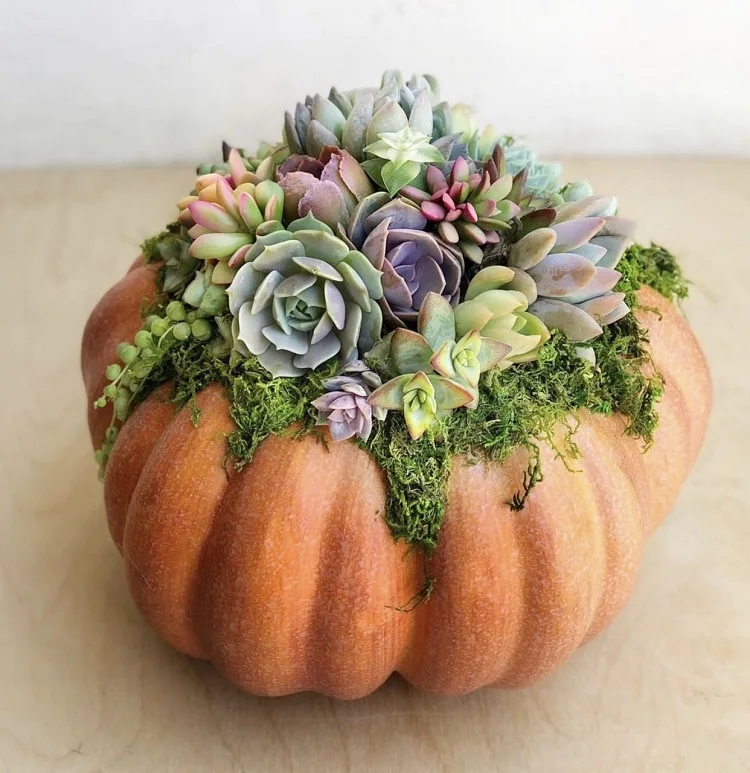
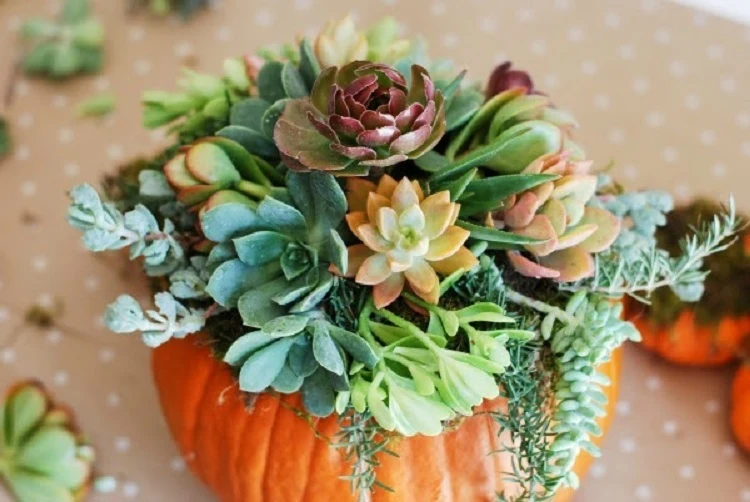
You have probably already seen this beautiful pumpkin DIY project that is the best decoration for the Fall season! Essentially, you combine pumpkins with succulent succulent plants and you get this gorgeous centerpiece that you can place anywhere in your home or garden, which makes it super functional as well. The best part is that you can do this project alone or have fun with your family. Everybody can create their own and place them around the house. For extra decoration, you can customize them with fake spiders, spider web, or ghost stickers. Now, let’s see how to make them with the easiest and fastest method!
Also read: These are the 2 easy tutorials for a cute DIY pumpkin decoration worth trying out!
How to Make Succulent Pumpkins: DIY Project for The Entire Family
The succulent pumpkins are not only aesthetically-pleasing, but they are also super fun to do. The materials that you are going to need are easily accessible and if you follow the steps, it won’t take more than 15 minutes to create your pumpkin decoration. Here’s what you are going to need:
- a pumpkin (the size and the color is entirely up to you)
- a pumpkin carving kit
- natural moss
- scissors
- black marker
- hot glue gun
- natural or artificial succulent plants
Now, let’s go ahead and start with the DIY project. The preparation is just a few steps and they are easy to follow. If you are doing the pumpkin decoration with your kids, don’t let them use the hot glue gun!
- Grab your black marker and draw the place where you are going to cut the pumpkin (around the stem). Make sure that the hole is big enough so it can fit the moss.
- Start carving your pumpkin and make sure you clean everything from the inside.
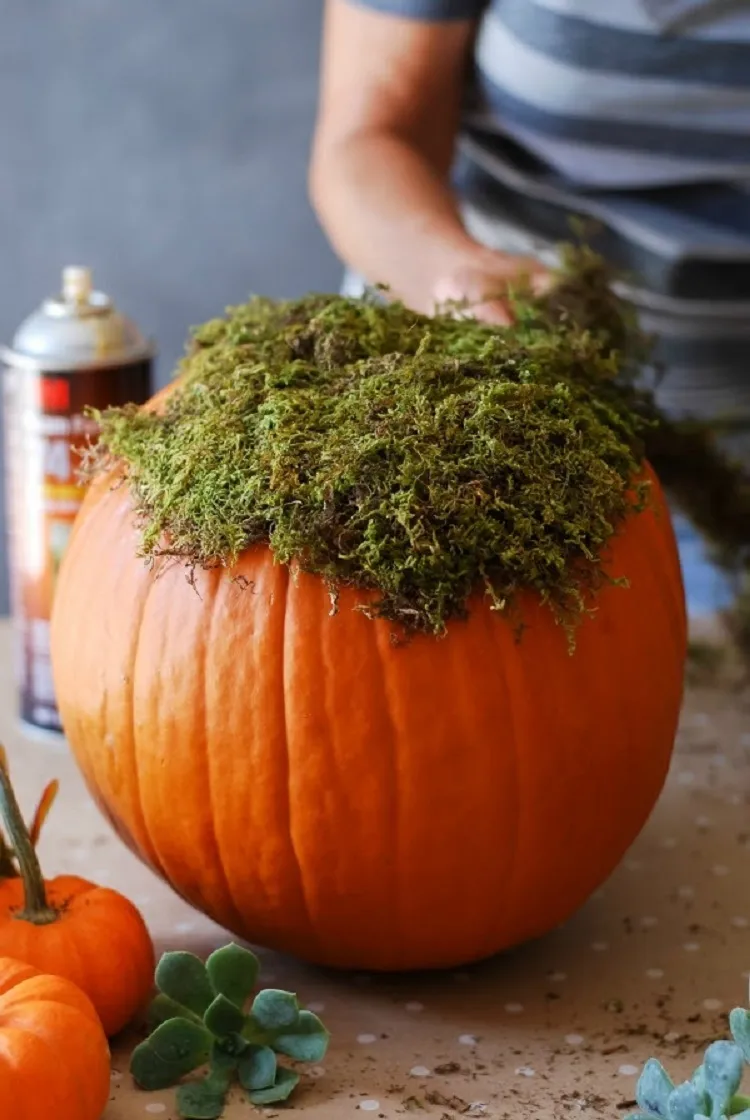
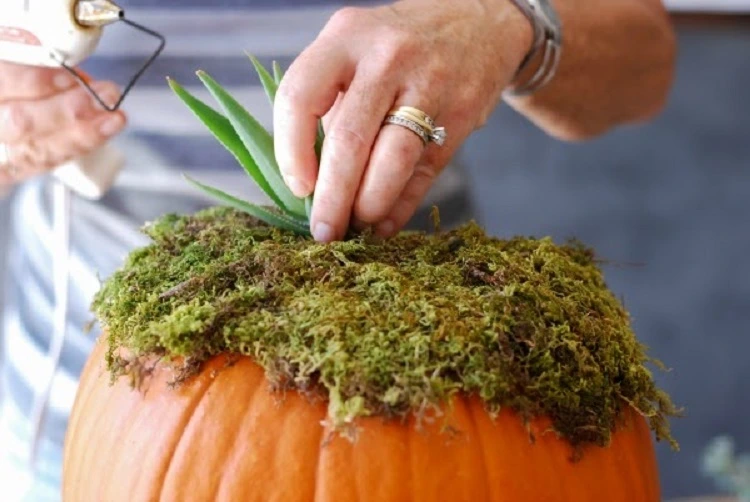
- Now, you have to place the natural moss inside the pumpkin. Leave a bit for later on, because you are going to need it. Also, you might need to use scissors to cut it and form it the way you want.
- If you are going to use natural succulent plants, make sure you remove the dirt from them and clean them well when you get them out of their pots.
- Start arranging the succulent plants around the moss. Once you’re done and you are happy with the arrangement, get your hot glue gun and start gluing the plants. One piece of advice is to place the bigger plants in the center and the smaller ones around the big ones.
- Glue the rest of the moss around the pumpkin, so it gives is a better and more realistic look.
- If you want, you can add more decoration for Halloween, as we suggested above. Enjoy!
Also read: Try creating this DIY paper mache Halloween pumpkin project and the fun time is guaranteed!

