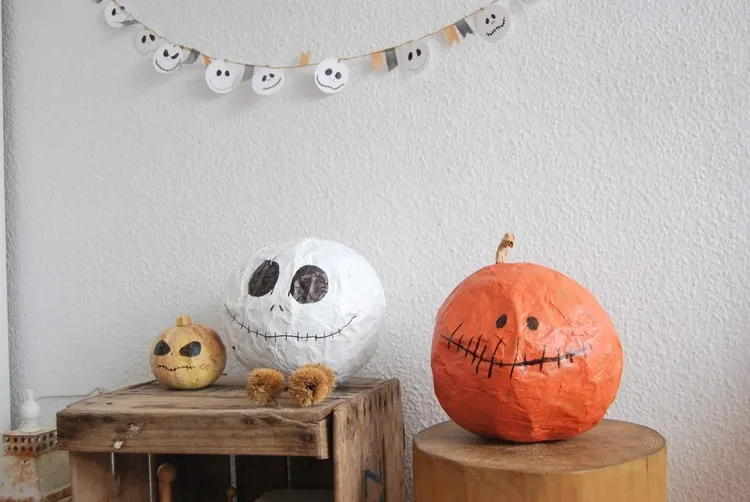
Impossible to imagine Halloween without pumpkins! The star vegetable of fall gradually begins to invite itself into our homes to become the focal point on the evening of October 31. The most widespread tradition is to hollow out a pumpkin and decorate it inside and out. Today we offer you another original idea for you and your children to do at home. It’s creative, it’s fun and it’s easy! Focus on two DIY paper mache Halloween pumpkin tutorials.
DIY Paper Mache Halloween Pumpkin: A Quick and Easy Tutorial
Making a paper mache pumpkin is a Halloween craft activity that does not require specific skills, it is truly child’s play. And don’t let your little ones do it on their own – they’ll need your help. So, if you’ve already got your kids’ Halloween costumes ready, let’s move on to the DIY decorations you need to make right away!
Materials Needed:
- Balloons
- Some water
- White glue
- Paper strips
- Cotton thread
- A deep plate
- Paint
- A brush
- Wire
As for strips of paper, don’t hesitate to recycle an old newspaper or magazine. For paint, get orange, white or another color of your choice. Black paint is needed to recreate the famous Jack-o’-Lantern pattern. Remember to use balloons of different sizes to create a more dynamic decoration. Now, let’s move on to the paper mache pumpkin tutorial.
Read also: Free Printable Halloween Masks – 12 Spooky Ideas That Kids Will Love!
DIY Paper Mache Halloween Pumpkin: Instructions

First, mix white glue with water to make a liquid paste. Then inflate the balloons and tie a string as shown in the photo to give them a pumpkin shape. However, be careful not to blow up the balloons. Also be aware that once the paper mache is glued, the pumpkin shape may disappear.
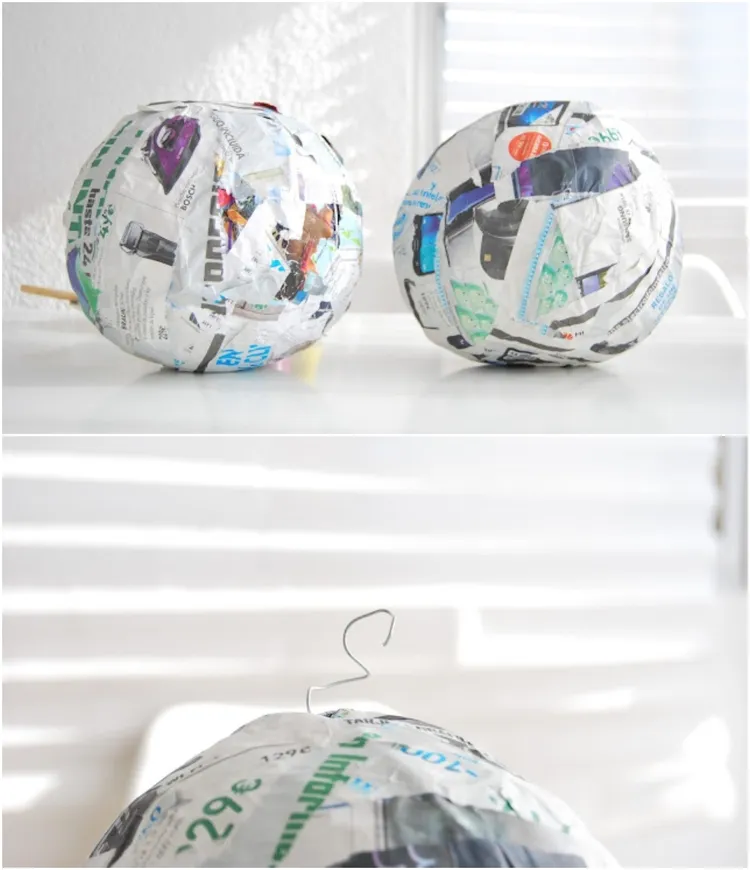
Next, soak the paper strips in the paste and apply them to each balloon. Proceed with one strip at a time. The idea is to cover the entire balloon. To achieve this, you’ll need to apply a few layers, letting them dry in between. Once the last layer of paper has been placed, coat with glue again and allow to dry well. Then, make the pumpkin stem from a piece of wire to attach to the top of each balloon. Wrap it in soaked strips of paper. Let dry.
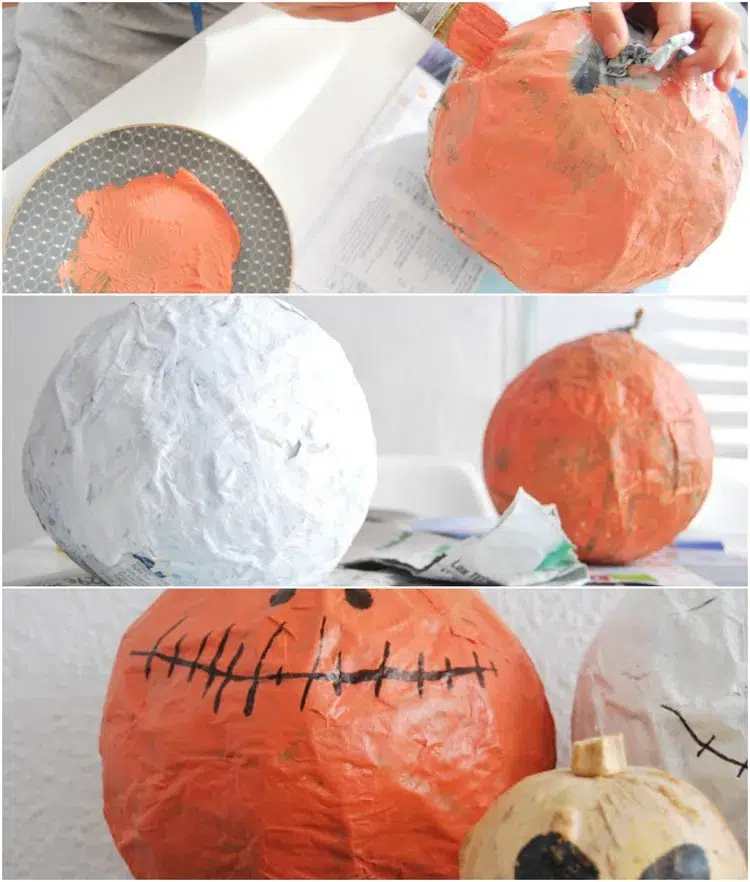
The next step is the most fun for the kids because it involves painting the Halloween pumpkins! So take the brush and paint with orange or white paint all of the balloons covered with paper. When everything has dried well, draw the eyes and mouth of your pumpkins with black paint. Voilà, your Halloween pumpkin is ready!
Also read: Halloween Front Door Decorations: 11 Simple Ideas That Are Real Eye-Catchers
How to Make a Spooky Paper Mache Pumpkin?
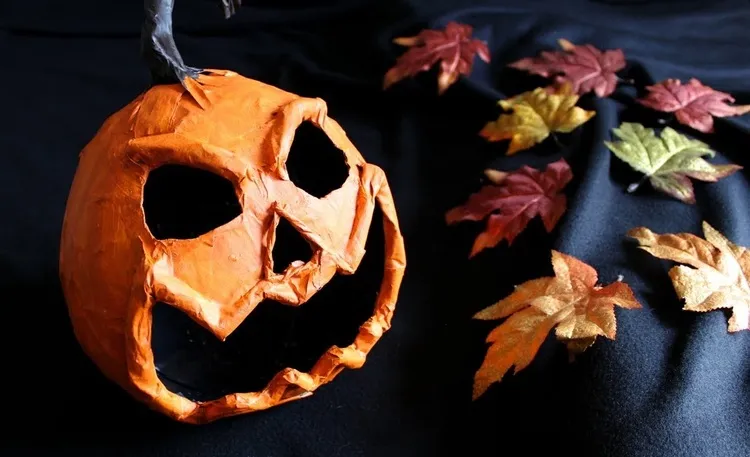
When it comes to making a paper mache pumpkin, the famous Jack-O’-Lantern is a must. To make it look as spooky as possible, here’s an easy-to-make video tutorial. Look at this paper mache Halloween pumpkin craft that your children will certainly enjoy.
Materials:
- A ball
- Newspaper
- White glue
- Some water
- Acrylic paint
- A pencil or black marker
- A brush
- Scissors
- A cutter
DIY Paper Mache Pumpkin: Instructions
- Tear the paper into strips of varying sizes.
- Blow up the balloon and tie it with large rubber bands to give it the shape of a pumpkin.
- Mix approximately 6 oz/170 ml of white glue with 2 oz/60 ml of water.
- Soak each of the strips in the resulting paste and apply to the balloon. This method is the same as the first tutorial above.
- Apply a total of three layers of paper, letting each one dry thoroughly before applying the next.
- Once the last layer has been applied, brush the paste over the entire balloon and let it dry.
- When everything has completely dried, blow up the balloon with the scissors.
- Draw Jack-O’-Lantern’s face on the paper as shown in the video.
- Cut carefully with the cutter.
- Roll up strips of paper to place around the eyes, nose and mouth. Dip them in the glue-water mixture before attaching them. Repeat the process with a small sheet of paper to glue around the eyes and mouth.
- Take a few sheets of paper and cut strips. Wrap and twist to shape the stem of the Halloween pumpkin. Glue on top and leave to dry. Twist the stem into a hook shape, apply glue and leave to dry
- Apply a coat of white paint over the entire surface of the pumpkin.
- Paint the outside with orange paint and use black for the inside. Use brown paint for the stem.
Also read: Halloween Cutting Activities for 3 to 5 Year Olds: 2 Projects + 25 Images to Print for Fun Learning